Google Sheets
Automata's Google Sheets integration makes it easy for you to bulk send messages to your customers.
The Google Sheet integration is still in Beta. Do let us know if you have any suggestions for improvements!
Getting the Model
To get started, login to your dashboard and navigate to the Integrations page.
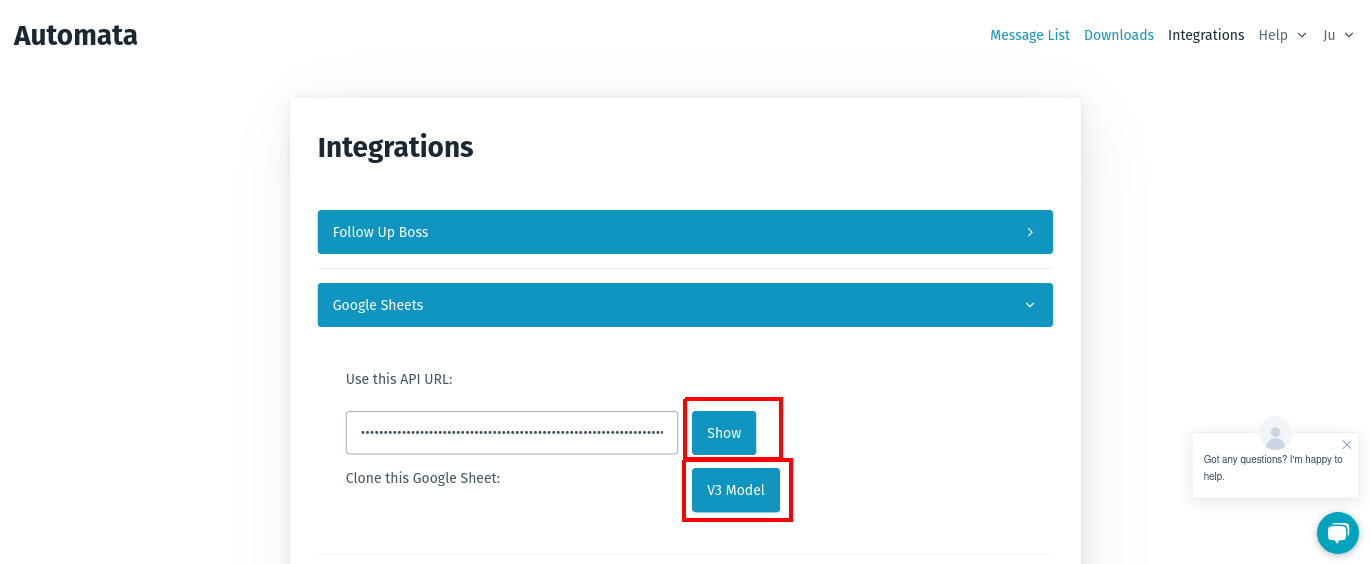
Click on Google Sheets to expand the settings. Automata's Google Sheets integration is a Premium only integration so make sure you are subscribed.
Click on the Model button to get access to the Google Sheets model.
Click on the Show button to see the API URL you'll need to set up the model.

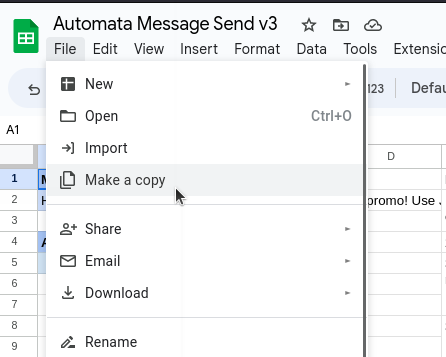
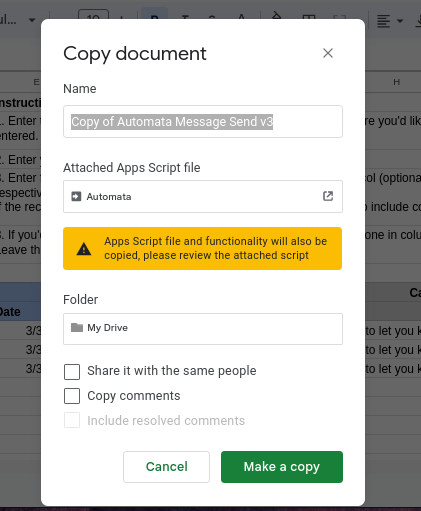
Make a copy of the model in your Google Drive.

During the copy process, if you'd like, you can inspect the code attached to the sheet. Entirely optional.

Model Setup

Fill out the model as follows:
- Cell A2
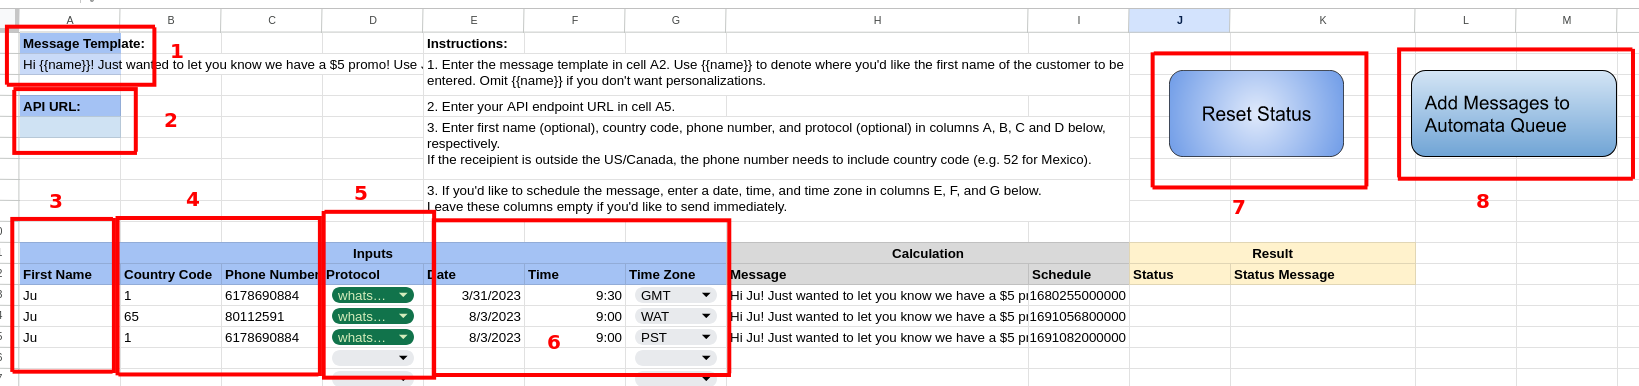
Message Template- Enter the message you want to bulk send to your customers. We have set it up so that you can personalize the message with your customer's first name by adding{{name}}in the message. Contact us if you need help setting up further personalizations. - Cell A5
API URL- Enter the API URL that you obtained from the very first step. - Column A
First Name- [Optional] This is where you enter your customer's first name to personalize the message. If you do not require personalization (i.e. do not use{{name}}in your message), you can skip this column. - Column B
Country Codeand Column CPhone Number- Enter the customer's country code in column B and phone number is column C. - Column C
Protocol- Choose either WhatsApp or iMessage - Column E
Date, Column FTime, Column GTime Zone- [Optional] If you wish to schedule your outgoing messages, enter a date, time, and time zone. If your time zone isn't supported, contact us and we will update the model to support your time zone. Reset Status- Clears theStatusandStatus MessagecolumnsAdd Messages to Automata Queue- Push the data to Automata's servers and the messages will start getting sent as long as your computer is running the Automata app.
Granting Permissions
If it is your first time running the model, you will need to grant Automata permissions.

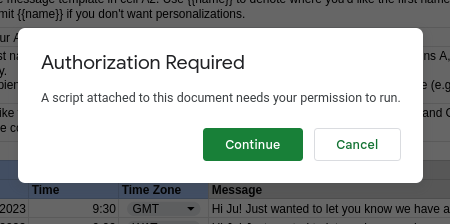
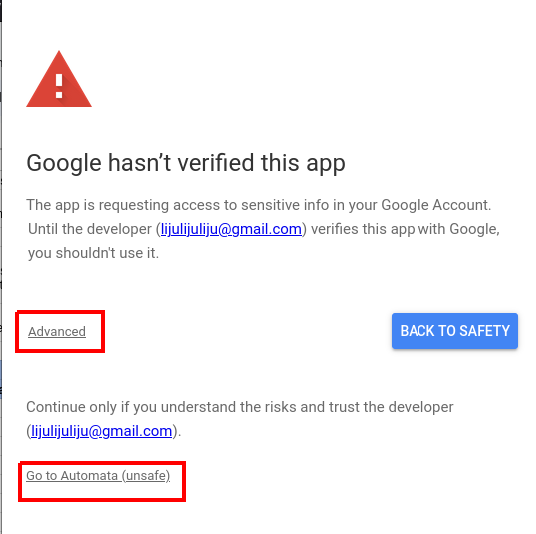
It is likely that you'll get a security warning. Click on Advanced and then click on Go to Automata to proceed with granting us permissions.

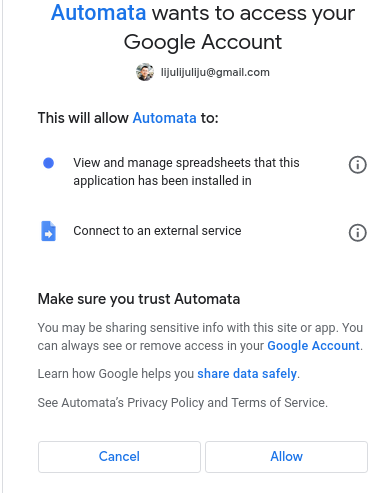
You can see that we do not request much permissions. The external service that we connect to is the Automata servers. Click Allow to grant the permissions.

Click on Add Messages to Automata Queue again after you have granted permissions.
Make sure you click the button again after granting permissions.